How did I set up my Fish Shell on Windows 10 using Linux Subsystem?
Hello everyone! Welcome back!
I am back again with a new post to share my experience of moving to Linux subsystem-based bash to custom fish on my Terminal App.
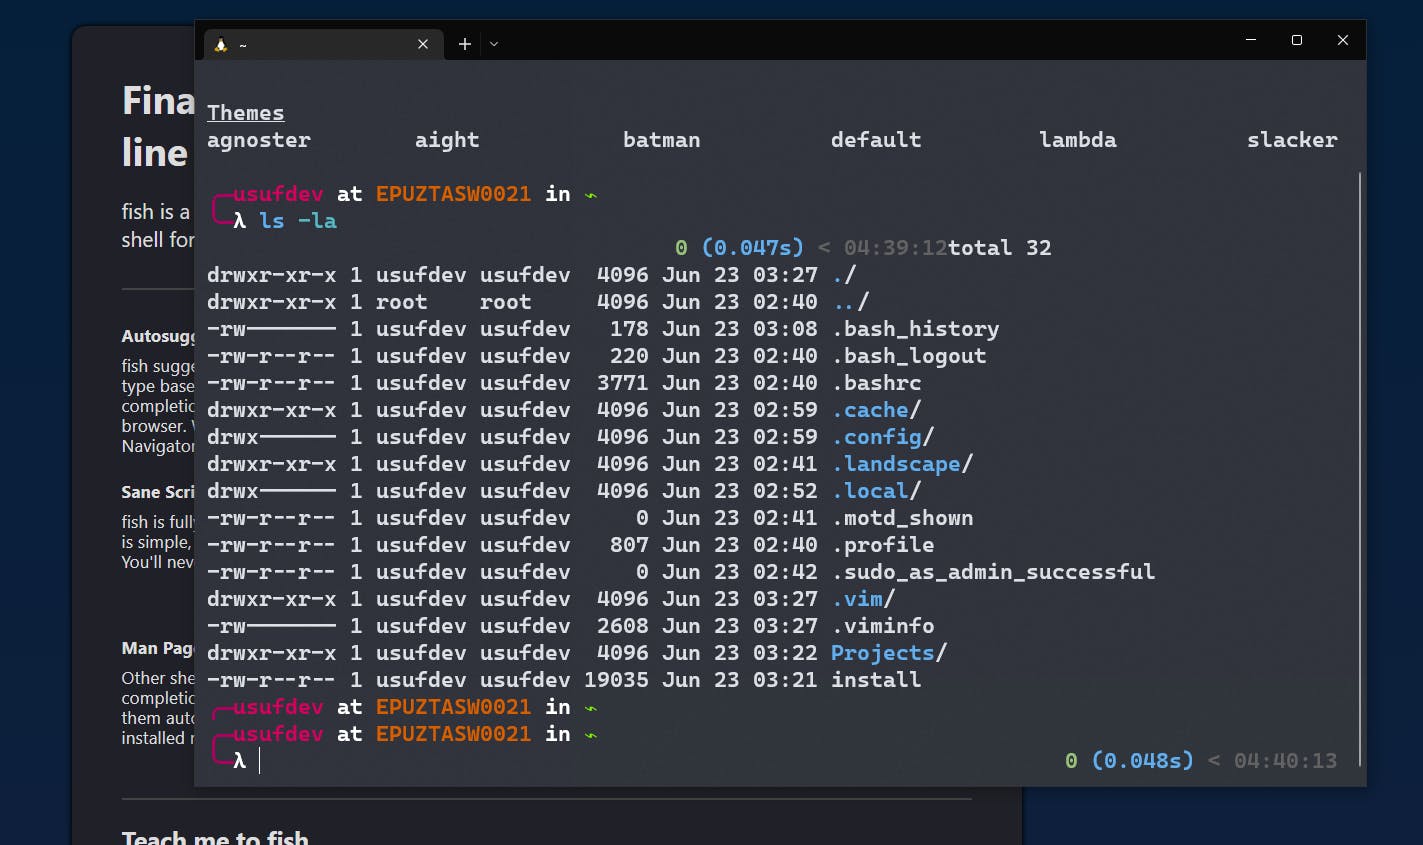
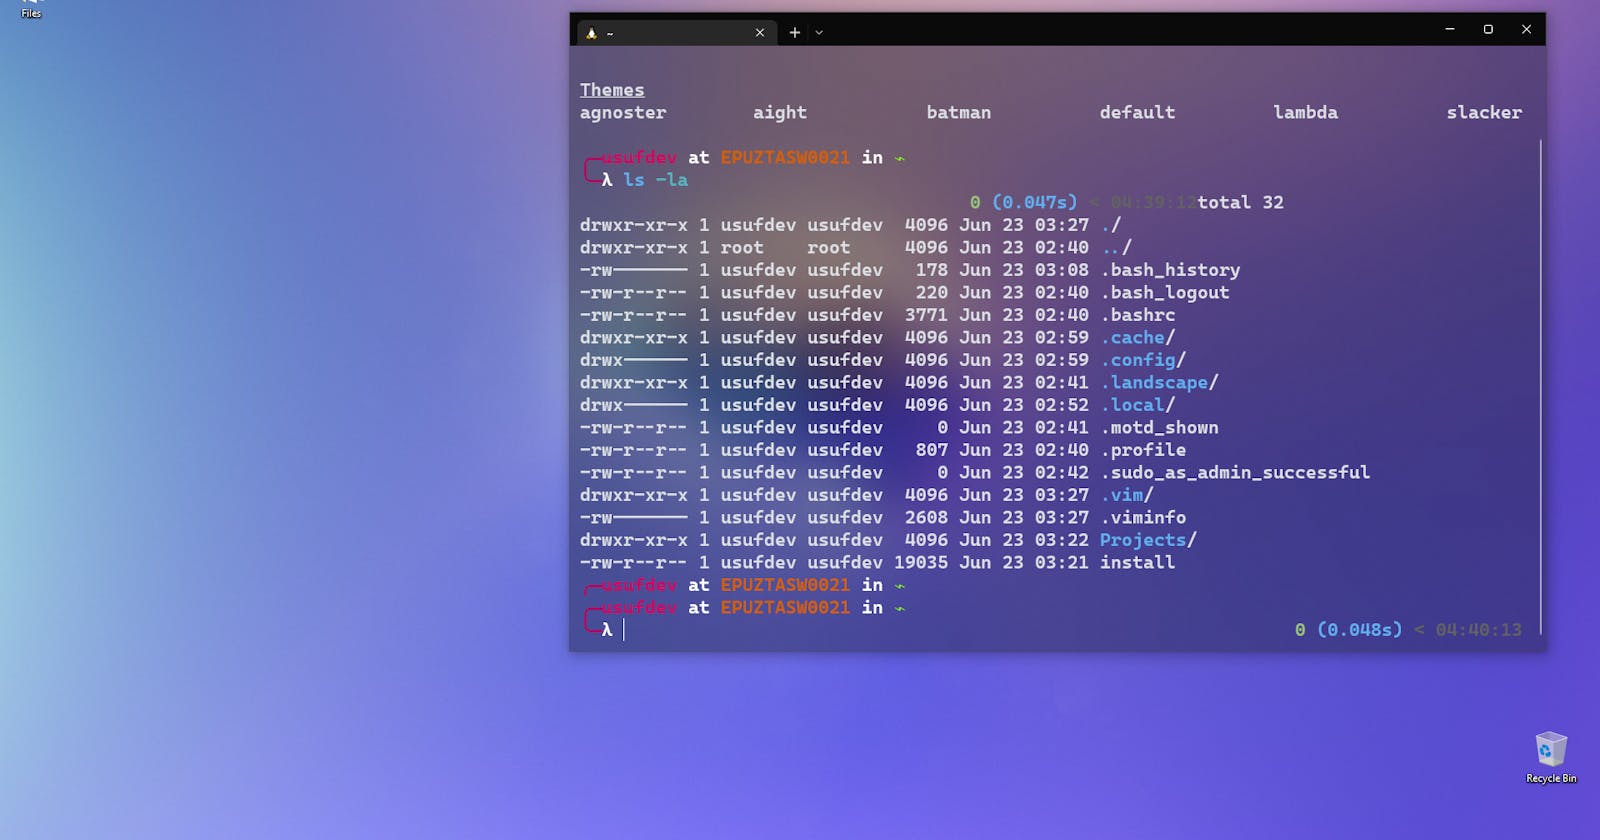
Here you can see the result, let's get started!

The Fish Shell is one of the most popular shells for the terminal in Mac and Linux. It is also available on Windows 10 with the introduction of Windows Subsystem for Linux (WSL). My favourite feature of the fish shell is autosuggestion.
In this post, I will guide you on how to set it up on Windows and how to customize it.
Step 1 — Installing Linux Subsystem
There are many ways to install WLS, ill show the easiest.
- Firstly, launch Settings.
- Then, tap on Applications.
- After that, tap the ‘Programs and Features’ option. It shall be located under the ‘Related settings’ part.
- Next, tap on a ‘Turn Windows features on or off’ tab.
- Then, put a tick on the Windows Subsystem for Linux square.
- After that, tap on the OK option.
- Lastly, tap on the Restart now option.
Run Bash on Windows
- Open a command prompt (CMD). Type “cmd” at the start.
- Type bash and hit enter.
- If you get a message no bash then go to the Microsoft store and search for ubuntu and install it)
You will be prompt to accept the license. just type y and hit enter. After you have accepted the License, the Ubuntu user-mode image will be downloaded and a “Bash on Ubuntu on Windows” shortcut will be added to your start menu.
To launch Bash on Windows, either run bash at a cmd/PowerShell command-prompt or use the start menu shortcut.
Step 2 — Installing fish
Install fish repository
sudo apt-add-repository ppa:fish-shell/release-3
Update and upgrade repository
sudo apt-get update && sudo apt-get upgrade
Install fish shell
sudo apt-get install fish
Congratulation, you are done. Enjoy fish shell!
Step 3 — Now you should make the fish shell the default profile for your ubuntu
- To change your login shell to fish:
echo /usr/local/bin/fish | sudo tee -a /etc/shells
- Change your default shell with:
chsh -s /usr/local/bin/fish
Step 4 — Install the Oh My Fish plugin
Installation
You can get started right away with the default setup by running this in your terminal:
curl https://raw.githubusercontent.com/oh-my-fish/oh-my-fish/master/bin/install | fish
This will download the installer script and start the installation. Alternatively, you can download the installer and customize your installation:
curl https://raw.githubusercontent.com/oh-my-fish/oh-my-fish/master/bin/install > install
fish install --path=~/.local/share/omf --config=~/.config/omf
Step 5 - Pick your theme from the theme list
This will show up available themes:
omf theme
Installing theme:
omf install lambda
Switching themes:
omf theme [theme name]
Make sure to update omf update omf or run omf doctor sometimes it does not change the theme.
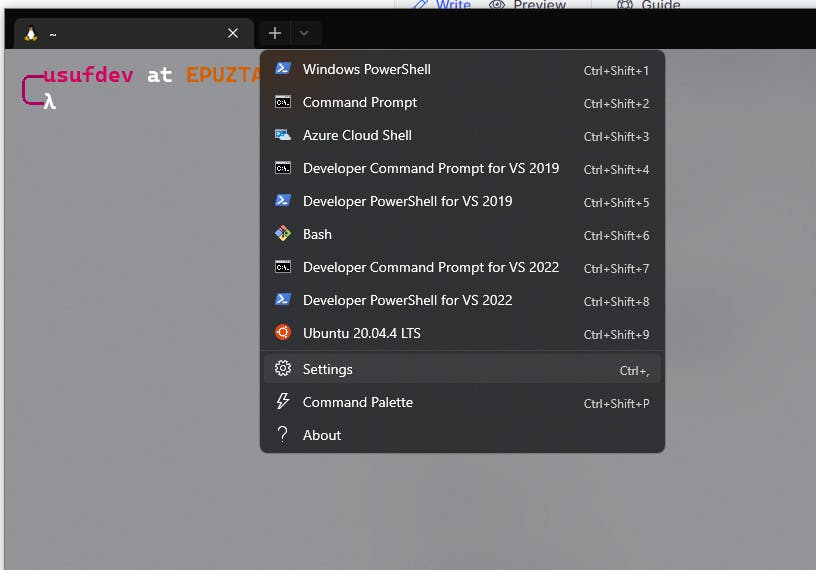
Step 6 — Now you can play with Windows Terminal Settings

Thanks for reading! Enjoy your Terminal!
Happy coding!

